Creating A Blog Post
As an account owner, you have the ability to create as many blog posts as you would like. The steps in this article will walk you through how to create your first blog post.
In This Article:
What Is A Blog Post
Posts are considered the most common way to split your blog’s content between dates, subject matter, and/or type. Your blog post will automatically appear on the main page of your blog based on chronological order (from newest to oldest). Unlike a page, a blog page changes often and is not static.
Logging Into Your Blog
In a previous article, we discussed “How To Login To Your Redman Blog“. To gain insight on how to “login to your blog”, simply follow the steps here.
Adding A Blog Post
Once logged into your Redman Blog, you will see a list of options in the right-hand navigation bar. In this bar, you will want to hover over “Posts” and then select “Add New”.
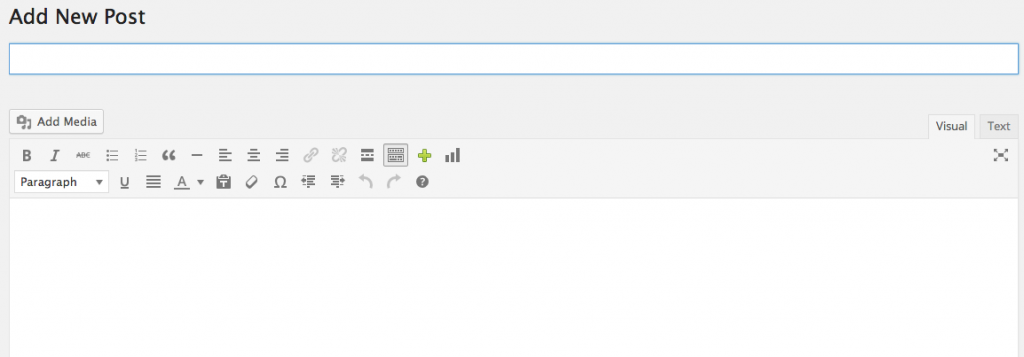
Once selected, you will be directed to a website (WYSIWYG) editor for the new blog post.
In the first text box under the heading “Add New Post” will be the title of your post. Once a title has been added, a permalink (permanent URL) will be provided.
![]()
You can use any of the grey buttons to the right. You can “Edit” the highlighted portion of the URL, “View Article” to view the post on your website or “Get Shortlink” to get a shortened version of the permalink to use.
Beneath this is the “Add Media” button.
![]()
Selecting this will allow you to browse through all current files and images loaded to your blog or choose a file/image from your computer.
In the big white text box is where you would add the content of your blog post. Remember to add content unique to you using your own voice to tell a story to your users.
Once you have finished adding a blog post, you can save the post as a draft by selecting the gray “Save Draft” button ![]()
Once you have clicked on “Save Draft” you will then have an option to publish it to make it visible on your website.
Congratulations! You have added a post to your blog!


