Adding Images To A Blog Post
As an account owner, you can use the blog editor (WYSISYG) to add links, pictures or other elements to enhance the look & feel of your blog posts.
In This Article:
- Logging Into Your Redman Blog
- Editing A Blog Post
- Adding Images To A Blog Post
- Editing The Image Once Added
Logging Into Your Redman Blog
In a previous article, we discussed “How To Login To Your Redman Blog”. To gain insight on how to “login to your blog”, simply follow the steps here.
Editing A Blog Post
In a previous article, we discussed “How To Edit A Blog Post”. To gain insight on how to “edit a blog post”, simply follow the steps here.
Adding Images To A Blog Post
Once you are in the blog editor for the blog you wish to add an image to, you will want to place your cursor where you wish to have the image added. From here, you will select the option in the blog editor (WYSISYG) titled “Add Media”. 
After you have selected “Add Media” a new window will open called “Insert Media”.
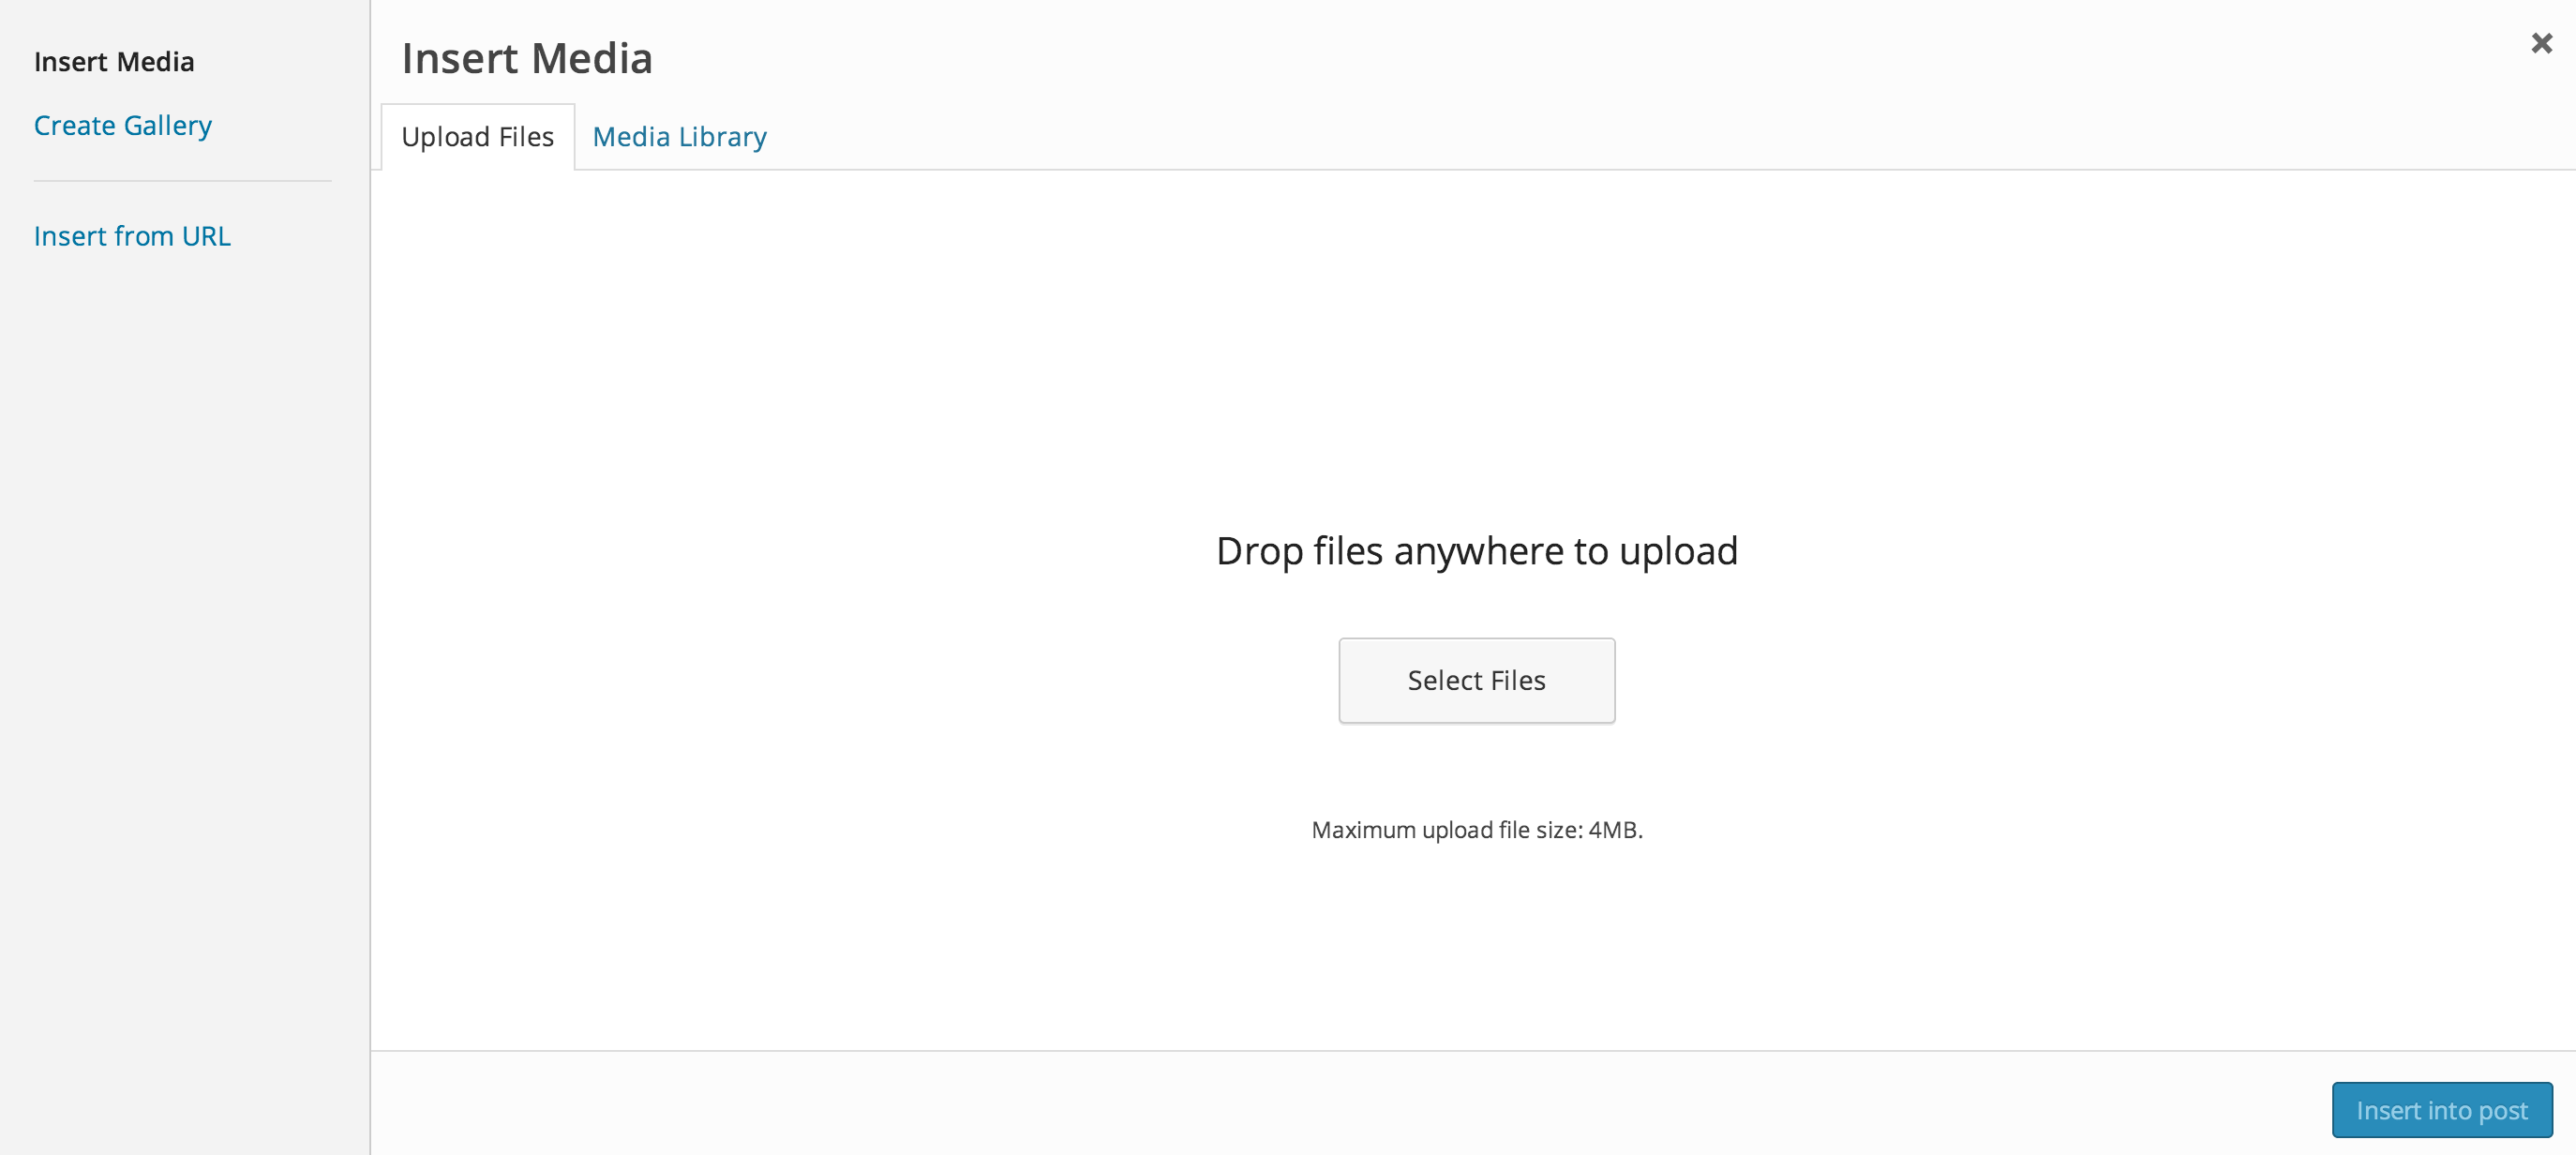 From this window you have a few options:
- Select a file from your computer to upload
- Select an image from the “Media Gallery” (Images you have uploaded or used prior)
- Select an image by “Inserting From URL”
Once the image has been uploaded/selected you will see additional options on the right-hand side as follows: 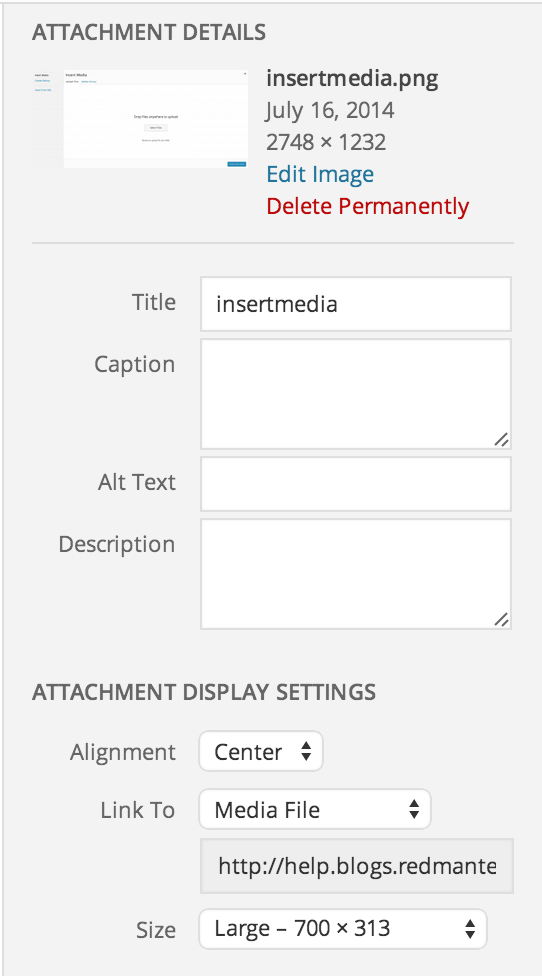
Here are some tips to best understand what do with these options:
Attachment Details
- “Title” – should provide basic information on what the image is about (tooltip).
- “Caption” – allows you to add additional information regarding what the image is about. The caption will display publicly below the image.
- “Alt Text” – Is typically descriptive text about the image, that shows when a person hovers their cursor over the image. Alt text is a popular means of telling search engines what the image is about.
- “Image Description” – Is a way to better describe what your image about for search engine purposes. This is not necessarily shown publicly on your blog, but will be viewable via “image searches”. This provides a more detailed description of what your image is about compared to an “Alt Text”.
Attachment Display Settings
- “Alignment” – Is related to where the image is located in terms of the blog post’s margins. If “Left”, it will be aligned to the left side, if “Center” it will align in the middle of the blog, and if “Right” it will be aligned to the right side.
- “Link To” – If you select “Media File”, it means that when the image is clicked on, it will open a new window specific to this image. We recommend using this default option.
- “Size” – Provides some pre-set options of how large you want the image to be in your blog post. You can also choose a custom size as well.
After you have set all your attachment settings, you will want to select “Insert Into Post” to have it added to the blog post.
Editing or Deleting The Image Once Added
If you wish to further modify the image after you have added it to your blog post, you can do so by clicking your cursor onto the image. Once you hover over the image, you will notice two buttons appear. The “Pencil Button” will allow you to further edit the image, while the “X” button will delete the image from the Blog post. (it will not delete it from your Media Library).