Adding, Editing and Removing Authors from you Blog
Having different authors on your blog is a great way to showcase your network and elimate some of the work of creating a new blog for your website. As much as we love showcasing our knowledge, it can be beneficial to use your blog as a platform for the people you work with not only to give them some exposure but also to show users that you have a network of people standing by to assist them with whatever their needs may be.
In This Article
Logging Into Your Redman Blog
In a previous article, we discussed “How To Login To Your Redman Blog”. To gain insight on how to “login to your blog”, simply follow the steps here.
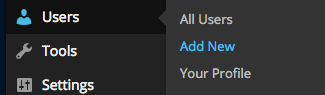
Adding a User
Once logged into your blog, select the “Users” option from the left sidebar. Then select “Add New”
This will bring you to an area where you can invite people to be Authors on your blog, or give them other permissions like Administrator or Subscriber.
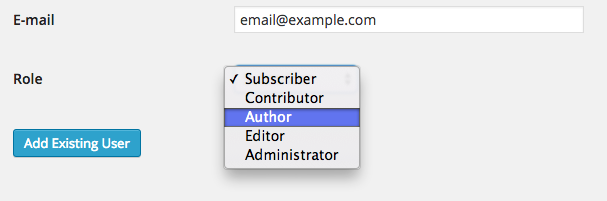
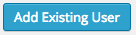
Once you have typed in the address of the person you wish to add, select the “Add Existing User” button.
 Editing a User
As an administrator, you have very limited access to editing users. Each user has access to editing their name, display and can write a small bio about themselves all in their profile area.
Removing a User
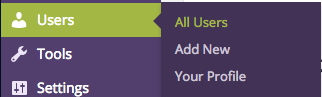
To remove a user,select the “Users” option from the left sidebar and then select the “All Users” option.
From here, find the user you wish to remove. Once your mouce hovers over their name, you will see a “Remove” link. Select it.
![]()
This will prompt the blog to ask “Are you sure?” select the “Confirm Removal” button.
![]()