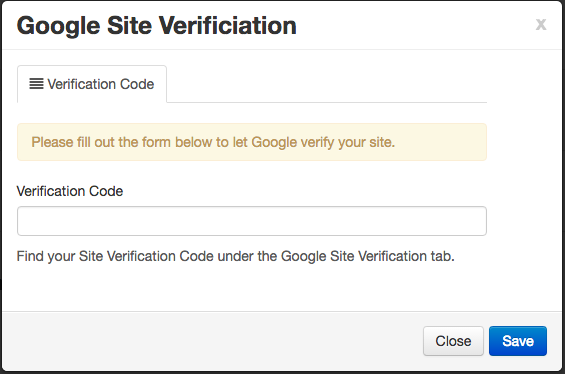
To add Google Verification Meta Tag to your website, follow the steps below.
In This Article
- Logging Into Your Redman Workstation
- Navigating to Analytics & Tracking Tools
- Connecting Your Google Webmaster Tools Account
Logging Into The Redman Workstation
In a previous article, we discussed “How To Login To Your Redman Workstation”. To gain insight on how to “login to your Redman website”, simply follow the steps here.
Navigating to Your Analytics & Tracking Tools
Once you have logged into your Redman Workstation, you can select “Settings” from the black navigation bar along the top of your workstation. Once selected, you will see a drop down menu, select “Analytics & Tracking Tools” from the drop down.
This will bring you to the Analytics & Tracking tools page.
Adding Google Verification Meta Tag to your Website
To the right of “Google Site Verifiviation” title you will be able to select the blue “Connect” button. This will open the “Google Verification Page” where you will be able to add the Meta Tag.
Once you have added your Meta Tag, Click “Save”. Your verification tag is now added to your website.

