Organizing Who Gets the Leads on Your Brokerage Site
As the administrator on your brokerage website, you have the ability to set how leads get distributed among the agents in your office. Simply follow the steps below to get started.
In This Article
Logging Into Your Redman Workstation
In a previous article, we discussed “How To Login To Your Redman Workstation”. To gain insight on how to “login to your Redman website”, simply follow the steps here.
Distributing Leads
Once you have logged into your Redman Workstation, select “Agent Roster” from the black navigation bar and then select “Agent Roster Overview” from the drop down menu

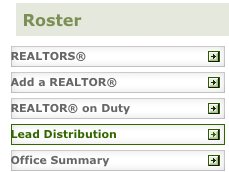
This will bring you to your Agent Roster, from here, select “Lead Distribution” from the menu located on the left of the page
Selecting this option will allow you to choose how leads are distributed to the agents on your site. Simply select the grey circle beside the option that is the best fit for your brokerage
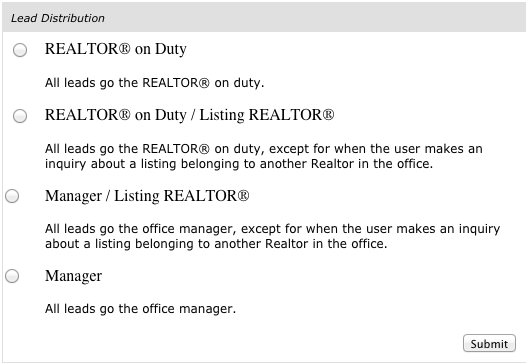
Once selected, the grey circle will turn blue with a black dot in it. Remember to select the grey “Submit” button when you are finished to save your changes
Viewing Distributed Leads
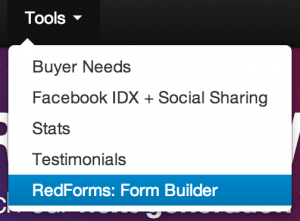
Logged in as an Office Administrator, you are able to see which REALTOR® received which lead by logging into your RedForms: Form Builder Area
Once in your RedForms Area, select “View all Lead Stats” from the right sidebar.
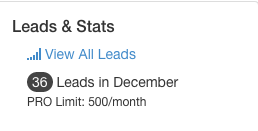
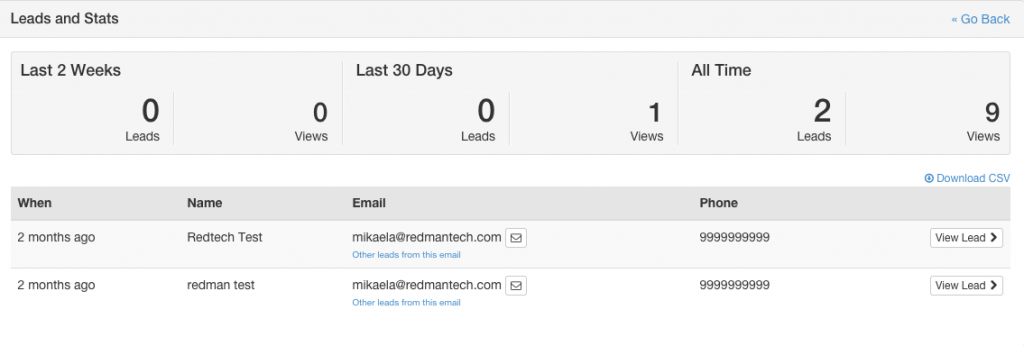
This will bring you to your Leads and Stats page where you can view all the leads received by your brokerage.
Select the grey “View Lead” button to see which agent received the lead
![]()
Scroll down to the bottom of the form to view the “Assigned Agent”. This is the agent that received the lead.
 You can select the blue “[Agent Name]” link located to the right of Name, to be brought to the agent’s profile

