Wrapping Text Around Your Image
Wrapping text around images is a great tool to use formatting your page to make it visually appealing. Simply follow these easy steps to learn how to wrap text around your image.
In This Article
Wrapping Text Around Your Image
The first step is logging into your Redman Workstation (you can learn how to do this here)
Once you have logged into your Redman Workstation, navigate to the page you wish to edit the image on and access the website editor (WYSIWYG) tool. Select the “Edit” button located at the bottom of the page. If you are not sure how to access the page editor, you can follow more detailed steps here.
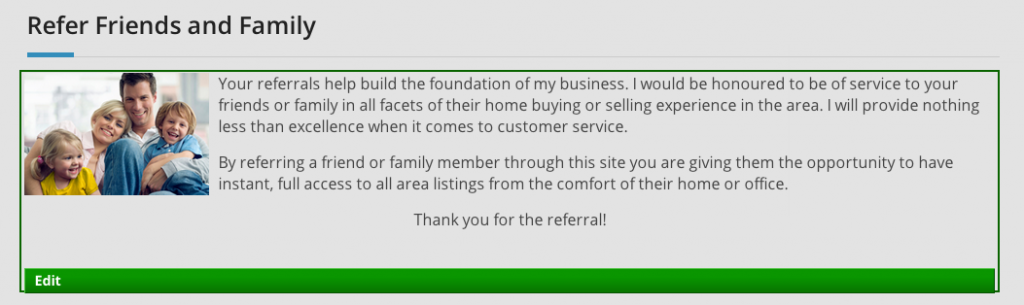
Once selected, the “Edit” Window will pop up. This window will contain the content of your page.
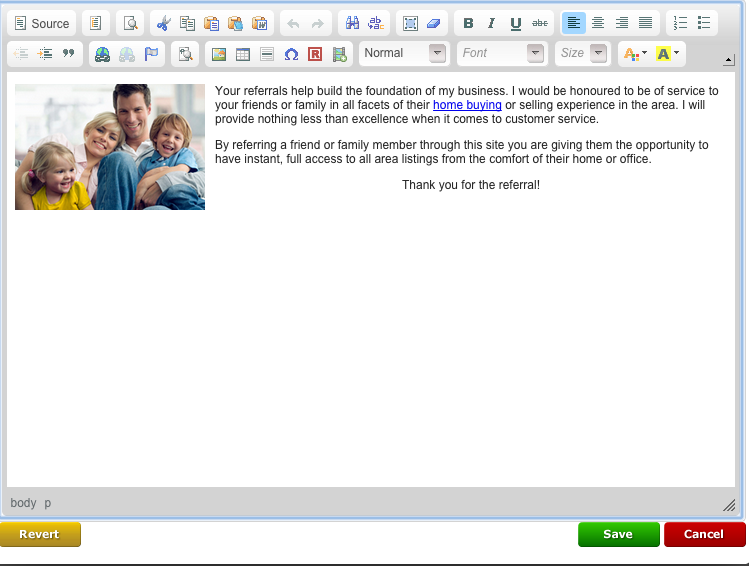
You will want to select the image you would like to wrap the text around, and then select the “Image” icon. It looks like a house on a sunny day.

Once selected, the “Image Properties” window will pop up.
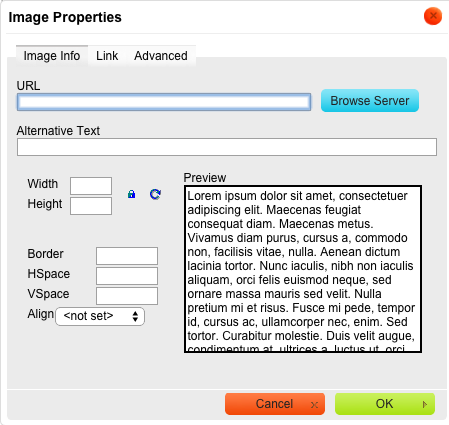
You can see, the “Align” option is “<not set>” meaning your image has not been aligned. Simply click on “<not set>” to see your alignment options.
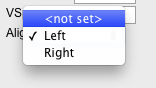
This will allow you to change where your image is placed and allow the text to wrap around it. Simply select which side of the page you would like your image to sit on. You can choose “Left” or “Right”.
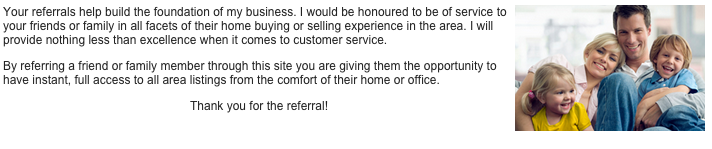
Left Example:

Right Example
Once selected, you can see how your newly aligned image will look on your page using the “Preview” on the right side of the “Image Properties” window.
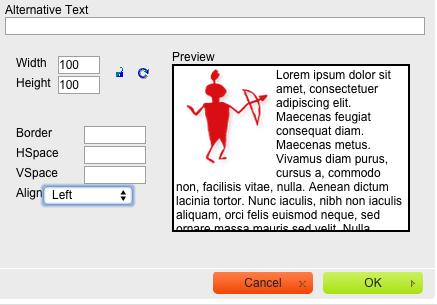
When you are satisfied with the alignment of your image, select the green “OK” button at the bottom right of the “Image Properties” window
![]()
This will bring you back to your “Edit” Window. You can change where the image sits by selecting the image and dragging it up or down.
And you are done! Simply select the green “Save” button at the bottom of the “Edit” Window to save your changes.
![]()
Using the Border and Spacing Tools
Once you are looking at the “Image” Window, you have the option to add a border around your image and space your image from the margins and text both horizontally and vertically.
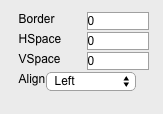
All of the values used are in pixels. Adding a number to the “Border” text box will add that value, in pixels, as a border around your image as seen in the Example below. Typically a border of 1 or 2 pixels is sufficient to define the image.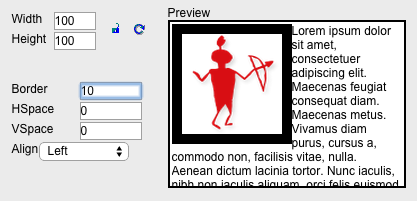
Adding a number to the “HSpace” text box will space the image horizontally from the edit content margin and text, as seen in the Example below. Typically 5 or 10 pixels is sufficient space for this option.
Adding a number to the “VSpace” text box will space the image vertically from the edit content margins and the text, as seen in the Example below. Typically 5 or 10 pixels is sufficient space for this option.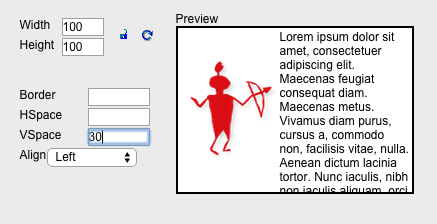
It is also standard that the HSpace and VSpace are set to the same value if changed to add consistency to the look of the image.
Once you are finished spacing your image, select the green “OK” button at the bottom right of the window.
![]()
As you can see, these tools can be very useful in formatting your images and making your site visually appealing and user friendly.