Updating Your Profile Image
As a Redman user, you may want to update your personal image every once in a while, which is why we make it easy to do (pending you have not opted for specific customization to your website theme). Typically the agent image will update on your theme, on your contact page and on the listing details pages.
In This Article
Logging Into Your Redman Workstation
In a previous article, we discussed “How To Login To Your Redman Workstation”. To gain insight on how to “login to your Redman website”, simply follow the steps here.
Accessing Your Profile Image
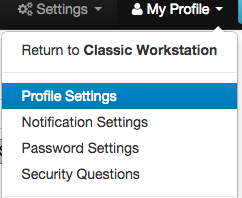
Once you are logged into your Redman workstation, you will want to select “My Profile” in the top menu bar. From here, you will select “Profile Settings” which will take you to the area in the workstation where your details can be updated.
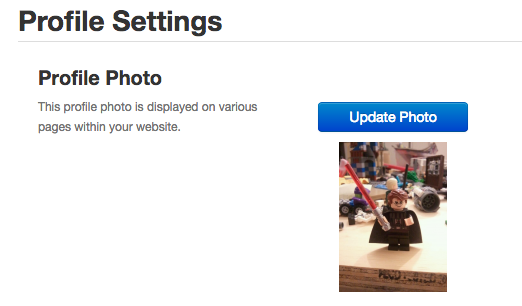
Once you are on your “Profile” page, you will be able to view your image. Above your image, you will notice a button titled “Update Photo”. By selecting this you will be taken into our photo uploader.
Updating Your Profile Image
Once “update photo” has been selected the photo uploader will open.
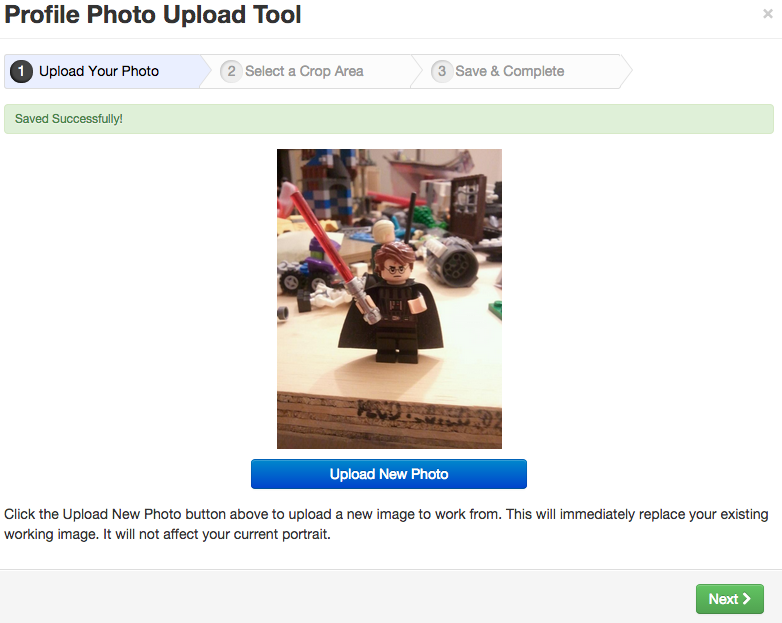
On this screen, press the button titled “+ Upload New Photo”. Once selected, you will be able to choose an image from your computer. Once it has been properly added to the system, you will receive a message that states “File Successfully Uploaded”.

From here you will want to press “Next”.
From here you will be able to use the highlighted area to crop your image.
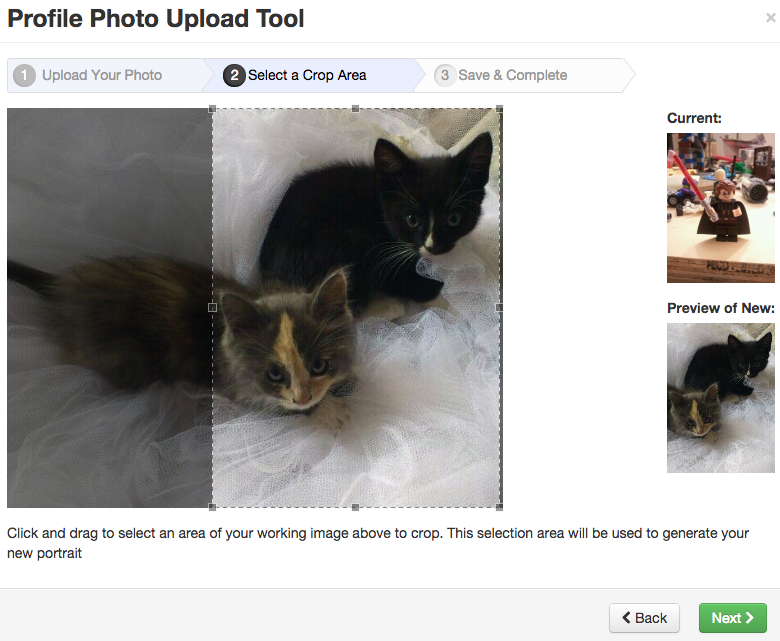
Once you are satisfied with your profile image, press the “Next” button.

Final step is to review your selection and press “Save New Photo”.
![]()