Client – How to Creat a Saved Search
First you have to log into your account. Once you are logged in, you will be on the Client page.
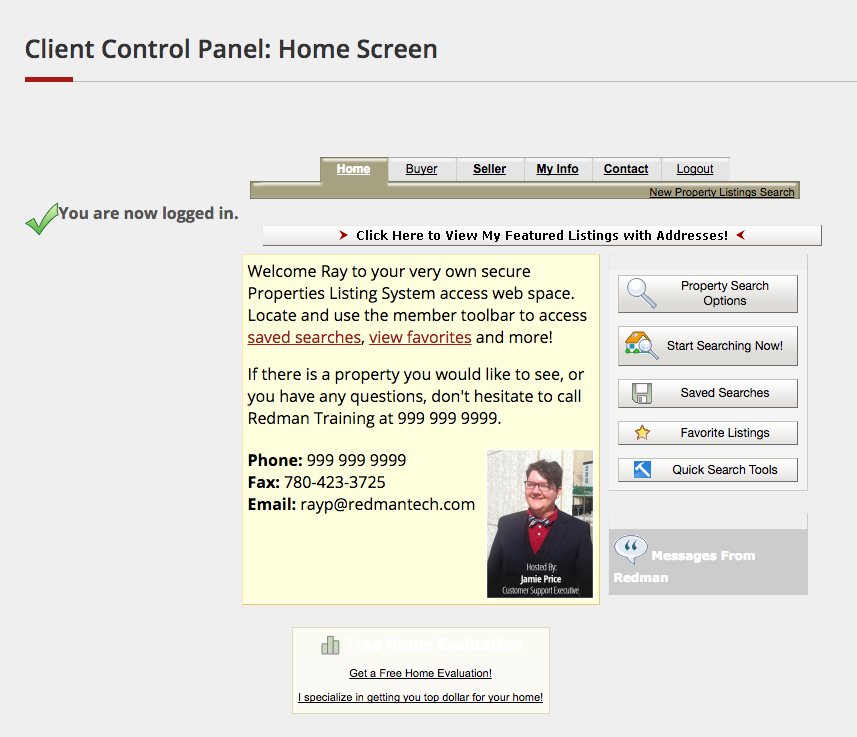
From this page you can begin your search. Click the “Start Searching Now” button
![]()
This will open the search map. You can select which area you would like to search.

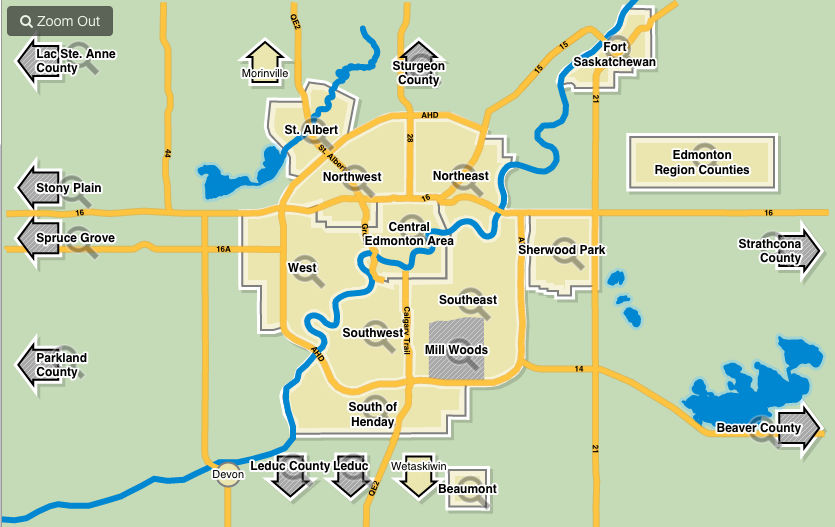
The map functionality may vary from region to region, but the steps remain the same.
Just select the area on the map you would like to include in your search. Selecting the area will zoom the map into the area and give you a selection of neighbourhoods to choose from. For detailed information on selecting multiple areas click here for our previous article on this topic.
When you have finished selecting communities, click the “Continue Search” button in the top right-hand corner.
![]()
Once this button has been selected, you will be brought to a new options screen that will look like:
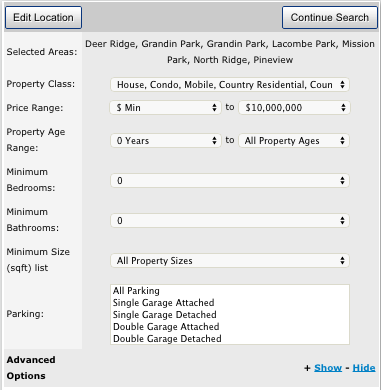
Here you can refine your search to include your client’s unique needs.
You can also go back to the map at any time by selecting the “Edit Location” button.
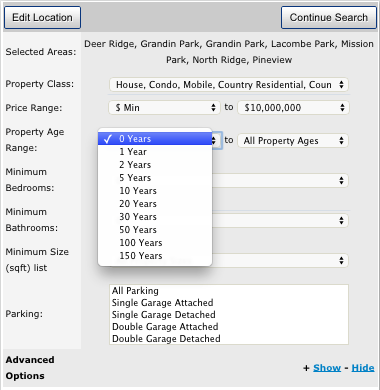
To refine your search, just click the white box beside the information you would like to change, and you will be given a list of options to select from.
Once you have refined your search, select the “Continue Search” button. Selecting this will bring you to a new page with the listings you have that match the criteria you provided.
You can now save this predefined search by choosing the “Save Search and Get Emailed Daily Updates” button located at the top of the results.
![]()
Sidenote: From this page you can also select the blue “Edit Criteria” to go back and edit your search or the blue “Perform New Search” to start again.
![]()
Once you select “Save Search and Get Emailed Daily Updates” you will be brought to a new page.
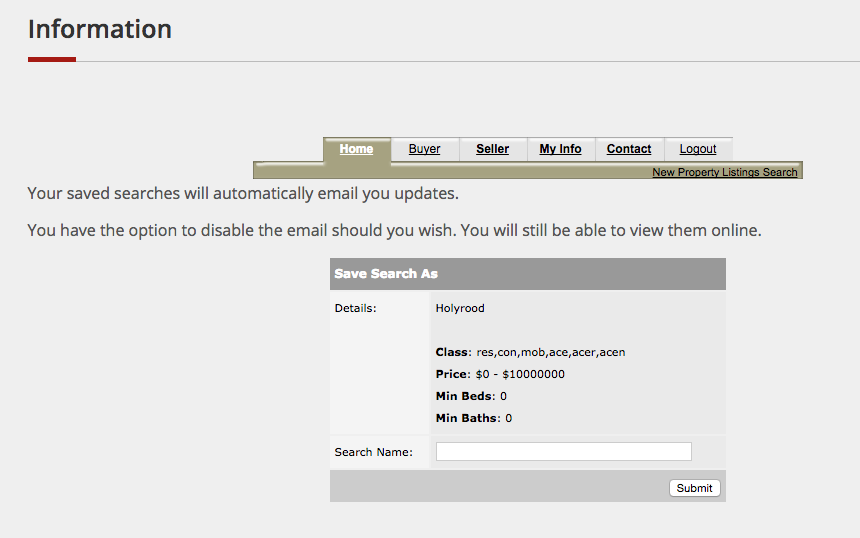
This is where you can save your predefined search.
Search Name: This is the name you can give your predefined search to make it easy to find for yourself.
When you are finished naming your search, select the grey “Submit” button.
![]()
This will bring you to a page where you can set your notifications for this saved search.
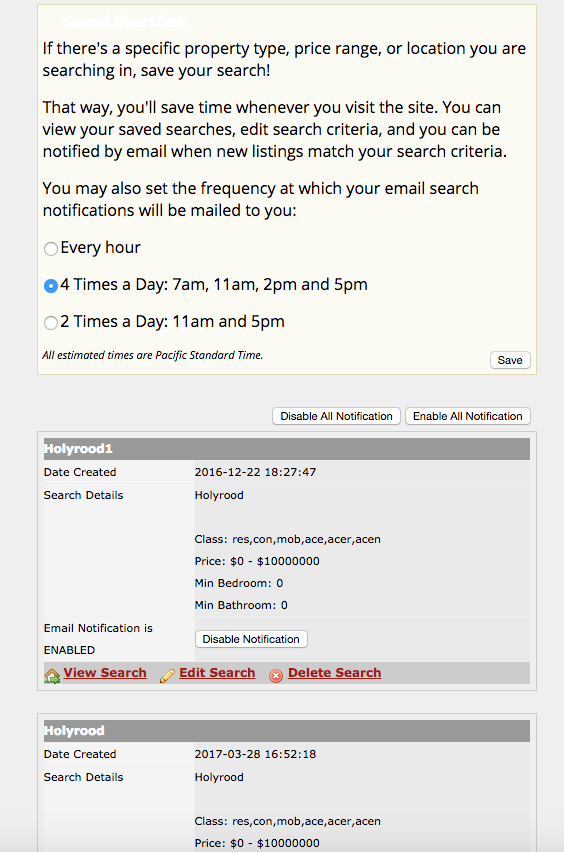
Once you have set your notifications to what you would like, Click the “Save” button.
Now you can click on the “Saved Search” button from your home page when you login and view any of your saved searches.
![]()
Well done! You have just created a custom save search!