Updating Your Live Chat Theme
Customizing your chat box can capture the theme of your website and make it stand out. Learn how to update your live chat box theme by following the steps below.
In This Article
Logging Into Your Live Chat Dashboard
In a previous article we discussed “How to log into your live chat dashboard”, to review this click here.
Updating You Chat Box Appearance
Once you have navigated to your dashboard you can select Settings from the blue navigation bar along the top of the page.

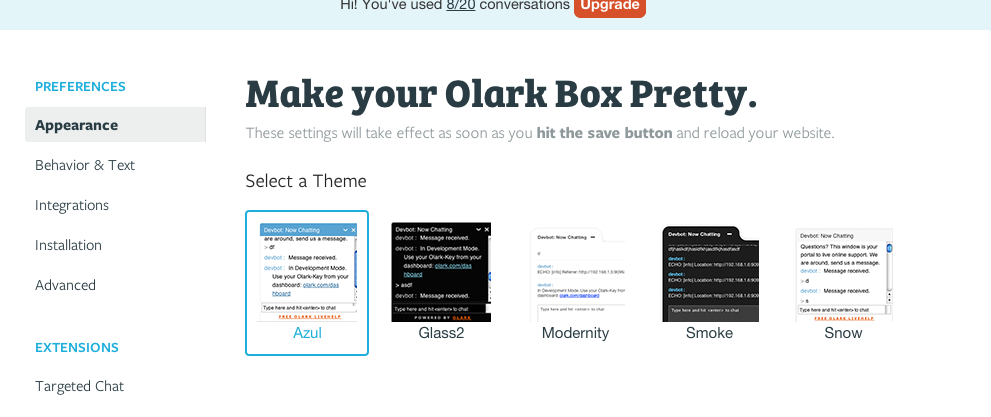
Selecting Settings will bring you to the Appearance option. You will see the heading “Make your Olark Box Pretty”

To get started, select the theme you wish to use by clicking the chat box you prefer.
Olark also provides seasonal themes you can use during a variety of holidays including, but not limited to: Easter, St. Patricks day and Valentine’s Day.
Scroll down to see a preview of your chat box.

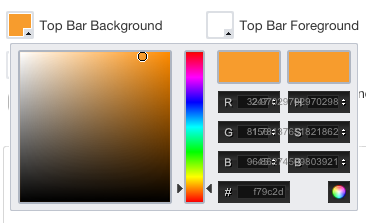
You can select different colours for a variety of elements of your chat box using the coloured boxes below the chat box preview.

Select the coloured box beside “Top Bar Background” to edit your chat box bar colour.

Select any of the boxes to edit the colour of that feature. You can view the changes you make instantly in the preview chat box above.
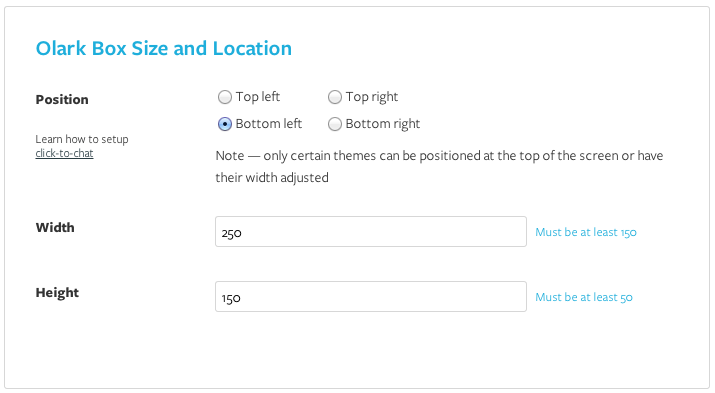
Once you have chose the colours for your chat box, scroll down to the heading “Olark Box Size and Location” to choose where you would like the chat box to be located on your site. Simply select the grey circle beside the location you would like your chat box to appear. It will turn blue with a black dot in the middle when selected.

You also have the option to change how large you would like the chat box to appear on your site. You can change the size by selecting the white text box and typing in the numerical value, in pixels, of how large you would like your chat box to appear on your site. We recommend 250×150 (see above)
When you have finished updating the appearance of your chat box, scroll down the screen to select the green “Save” button. 
