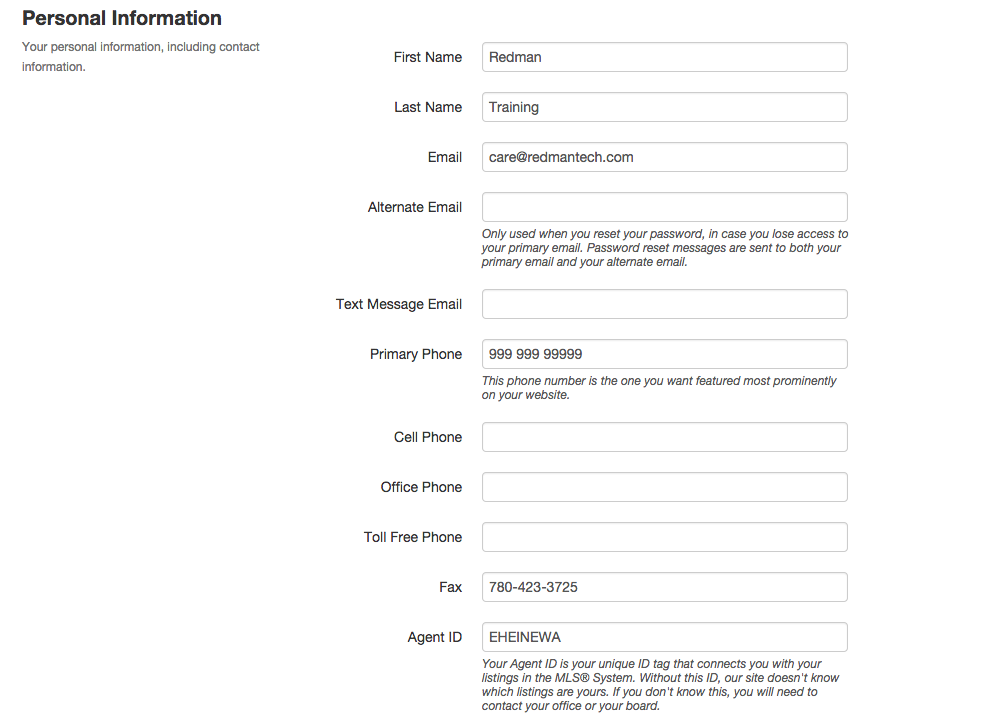
How to Update your Agent ID
Updating your agent ID will update this listings you can see on your website. Just follow these simple steps to get started. You need to have admin access in order to be able to update this information.
In This Article
- Logging Into Your Redman Workstation
- Updating Your Agent ID
- Updating Your Brokerage Name and Address
Logging Into Your Redman Workstation
In a previous article, we discussed “How To Login To Your Redman Workstation”. To gain insight on how to “login to your Redman website”, simply follow the steps here.
Updating Your Agent ID
After logging into your Redman Workstation, select “My Profile” option from the black navigation bar running along the top of your window, then select “Profile Settings” from the drop down option. It is near the blue “Website” button at the top right.
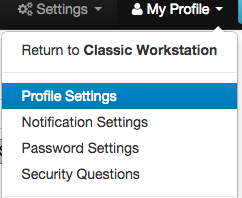
This will bring you to your “Profile Settings” page where you can update your “Agent ID“.
Simply type in your Agent ID and select the grey “Submit” button at the bottom right of the page. Additional agents can also be associated with this profile by separating additional Agent ID’s with a comma between the ID’s.
Updating Your Brokerage Name and Address
Once you are on your “Profile Settings” page, you can update your Brokerage information using the “Brokerage Information” link on the right sidebar.
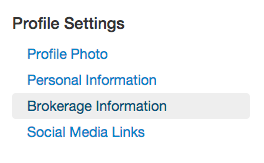
This will allow you to quickly navigate to your “Brokerage Information” section. Simply select the text box beside the area you wish to update and type in the correct information.
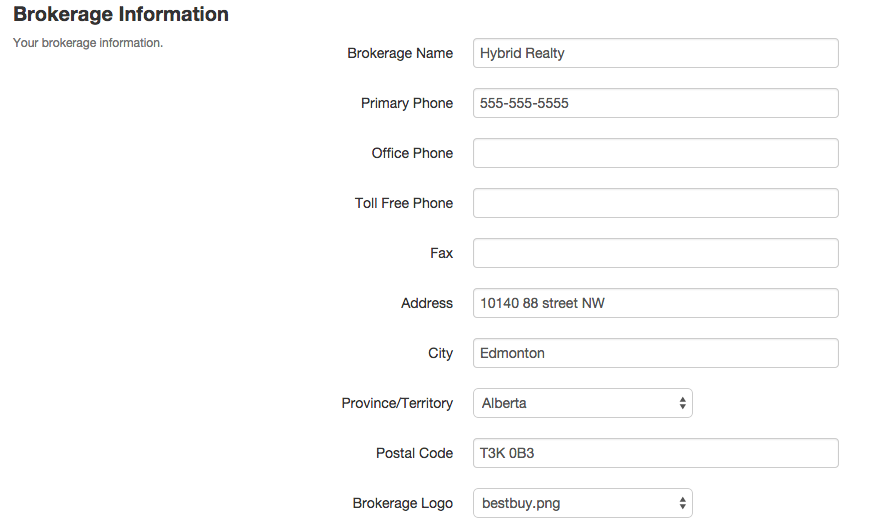
When you are finished, select the blue “Save Changes” button
Updating Your Brokerage Logo
You can update your brokerage logo on the “Profile Preferences” page, under “Brokerage Details“. This logo appears on the front page of your website. You can update it just by selecting the arrows in the white box.
Once selected, all of the brokerage logos we have on file will appear.
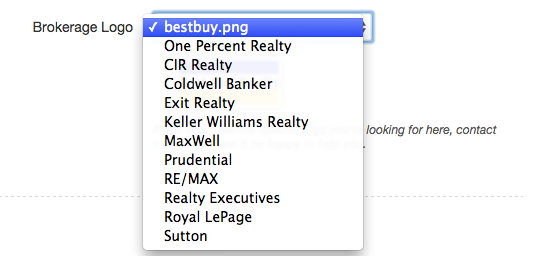
Simply select your brokerage to update the logo. If the logo you are looking for does not appear, please contact our Support Team to update the logo on your behalf. Once you have finished updating this information, select the blue “Save Changes” button
![]()
Terrific!! You have successfully updated your brokerage information.

