How to Link Your Facebook Page to Your Website
Using the Facebook IDX + Social Sharing App, you can link your website listings to your Facebook fan page or your Facebook personal page. You will need to have admin access in order to update this information. Follow the steps below to discover how easy it is to link your Facebook page to your Redman website.
In This Article
- Logging Into Your Redman Workstation
- Accessing your Facebook IDX and Social Sharing App
- Accessing your Facebook Fan Page
- Linking the Accounts
Logging Into Your Redman Workstation
In a previous article, we discussed “How To Login To Your Redman Workstation”. To gain insight on how to “login to your Redman website”, simply follow the steps here.
Open a New Tab in your browser to add the Facebook IDX + Social Sharing App to your website
Accessing your Facebook IDX and Social Sharing App
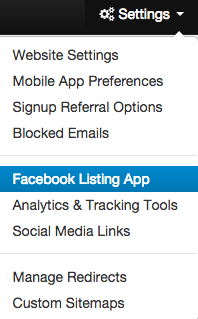
Once at your Redman Workstation, select “Settings” from the black navigation bar along the top of your website. Once “Settings” is selected, you can click on the “Facebook Listing App” link
This will bring you to the set up page.

Accessing Your Facebook Fan Page
In a separate tab, open your Facebook account and use Facebook as the page you would like to link the Facebook IDX and Social Sharing App to.
You can do this by selecting the down-facing arrow in the top right-hand side of your Facebook newsfeed window
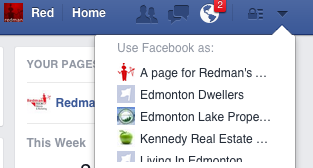
Then select the page you wish to link the Facebook IDX app to
You will see that the name and photo along the blue bar changes to your Facebook page information
![]()
That is perfect, now you are ready to move on
Linking the Accounts
Go back to your Redman Workstation tab. You can see the blue “Link my Facebook account” button at the bottom left of the page.
![]()
Once selected, it will bring you to a new page.
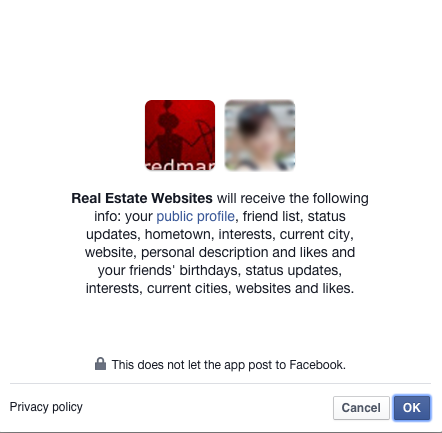
Simply select the blue”OK” button at the bottom of the window. This will bring up a new window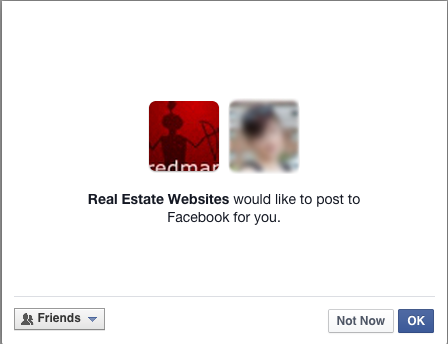
Here you can select if you would like the Social Sharing App to post to your timeline on your behalf.
You can choose the “Not Now” option which will tell the application to not post on your behalf
OR
You can choose the “OK” option to have the application begin working its posting magic
Optional: On the far left with the grey “Friends” button, you can decide who sees your posts. Select the button and a drop down menu will appear. Simply choose the option best fits your needs.
Once you select one of the options, you will be brought back to the website where you will see the you were successful notification along the top of the page.
The Page will ask you “Where to post listings” under the Social Sharing header

If you would like to have the App to post on your behalf, select one of the social sharing options. You can choose to have the app post to your personal timeline or to your page timeline.
Once one of the grey boxes is selected, it will turn blue and have a black checkmark in it.
To start using the Facebook IDX App, scroll down the page until you see
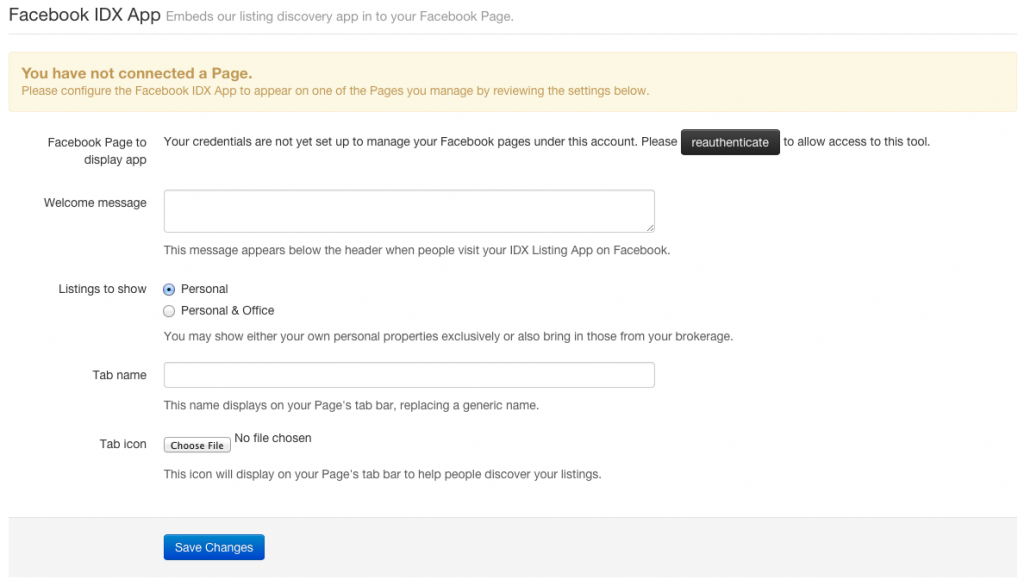
Select the black “Reauthenticate” button.
Welcome Message: This appears under the header of the app on your Facebook page. An Example of this would be “Your new Edmonton home is only a click away”
Listings to Show: Select either “Personal” to only show your personal listings on the app or select “Personal & Office” to show your personal and office listings on the app.
Tab Name: This is the name that is used on the Facebook page to identify your tab
Tab Icon: This is the picture your Facebook users will select to view your listings on your Facebook page. You can choose a file from your website storage or, of you would like to use an image from your computer, learn how to upload it to your website here
Once you are finished adding the Tab Icon save your changes using the blue “Save Changes” button at the bottom of the window.
![]()
Now your listings will appear on your Facebook page automatically! AND new listings will automatically be posted to your timeline. Awesome.

