Adding a Virtual Tour to Your Website
Adding a virtual tour is another way to make your listing standout. Follow the steps below to start adding virtual tours to your listings.
In This Article
Logging Into The Redman Workstation
In a previous article, we discussed “How To Login To Your Redman Workstation”. To gain insight on how to “login to your Redman website”, simply follow the steps here.
Navigating to Your Listings
Once you have logged into your Redman Workstation, Select “Listings” from the black navigation bar running along the top of the page. Selecting this provides you with a drop down menu where you can select “Overview”.
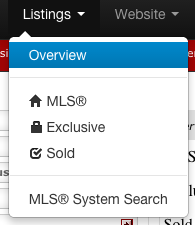
Selecting “Overview” will show you an overview of all current listings on your site.
Adding a Virtual Tour
To add a virtual tour to your website, select “Add a Virtual Tour” from the menu located on the left side of the page. It is the option found 5th from the bottom.
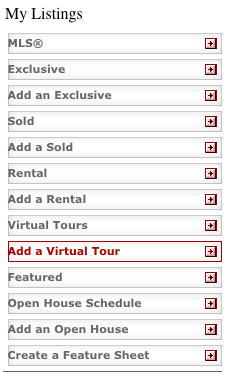
Once selected, this will open a new page where you can add your Virtual Tour.
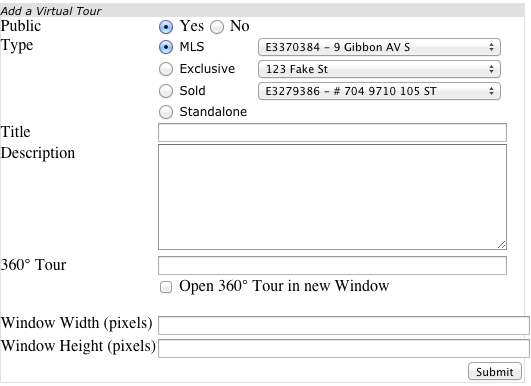
On this page, you can choose which listing you would like the virtual tour to connect to. Simply selecting the circle to the left of the listing type and then select the current listings you have available from the drop down menu.

You can also choose for the video to “Standalone” and not be connecting to a listing by selecting the grey circle to the left of “Standalone”.
![]()
After you have selected where you would like your virtual tour to be, you can add a Title and Description to your video by typing in the white text box to the left of these options.
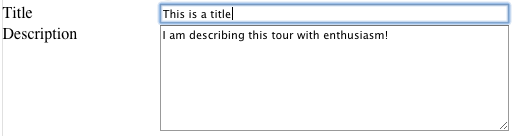
Beneath the “Description” text box is the “360° Tour” text box, this is where you paste the URL of your virtual tour video.
![]()
You can select the grey box to the left of “Open 360º Tour in new Window” to have the virtual tour open in a new window on your user’s computer browser.
![]()
Next you can specify the video size using the “Window Width (pixels)” and “Window Height (pixels)”. If these options are not filled out, the window will default to 762 x 512 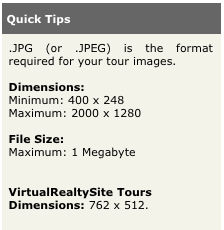
Once you have filled out the form as you wish, select the grey “Submit” button.
![]()
Once the form has been submitted, you will be brought to a new page where you can add images from your computer.
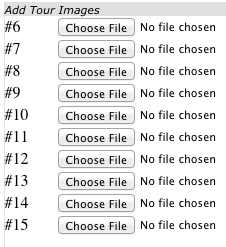
Once you have added (or not added) the images you wish to associate with the tour video, select the grey “Submit” button.
![]()
And you have added your virtual tour! You can select the tour’s title to view the tour.
