Adding Images to Your Page
Adding images gives a personal touch to your website. It also provides great visual cues for users. Follow these simple steps to add an image to the pages on your Redman website.
In This Article
- Logging Into Your Redman Workstation
- Adding Images to Your Page From Your Computer
- Adding Images to Your Page From Your Website
Logging Into Your Redman Workstation
In a previous article, we discussed “How To Login To Your Redman Workstation”. To gain insight on how to “login to your Redman website”, simply follow the steps here.
Adding an Image to Your Page
Select the blue “Website” button on the top right-hand side of your Redman Workstation.
![]()
Navigate to the page you would like to add a link to. You can do this using the Navigation Bar along the top of the screen.
 Click on the green ”
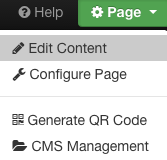
Click on the green “Page” button (located where the Website button used to be) and select “Edit Content”
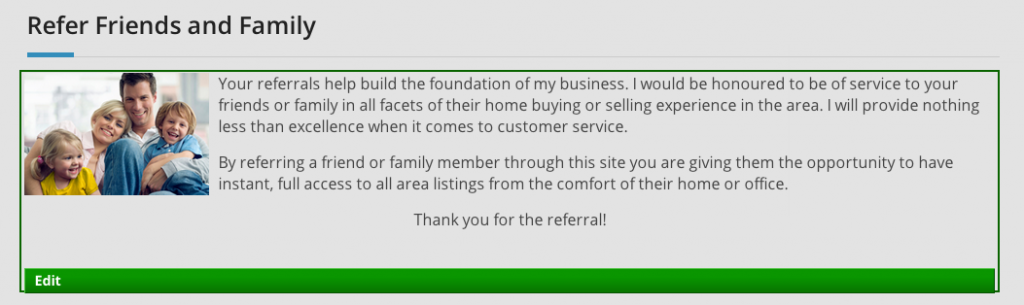
Once “Edit Content” is selected, a green box will appear around the sections you can edit on your Page. Select the “Edit” button located at the bottom of the page.
 The Edit Window will pop up. This window includes the content of your page.
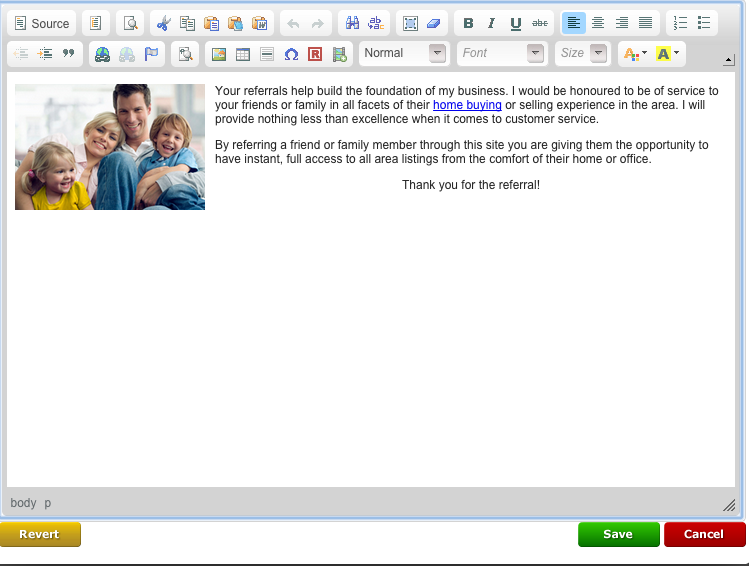
Move your cursor to where you would like the Image to be located and then select the “Image” icon which looks like a picture of a house on a sunny day

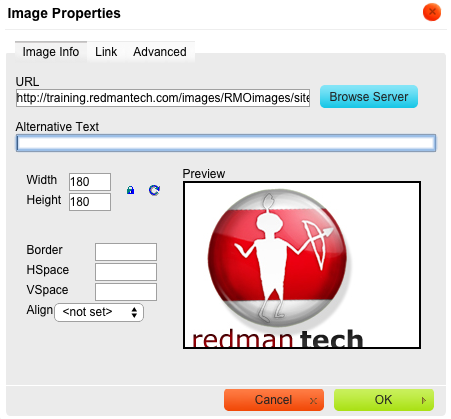
Once selected, the “Image Properties” window will pop up.
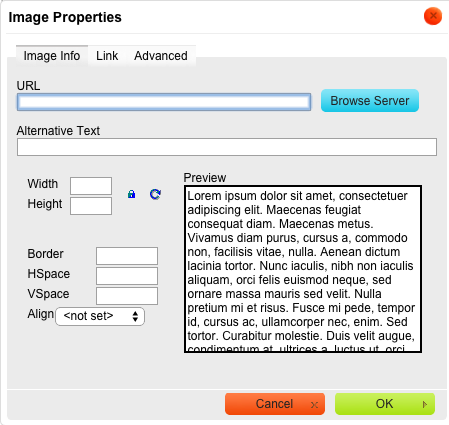
Click the blue buttone titled “Browse Server” located near the top right of the window, just to the right of the big white URL text box. This will open a new window which will allow you to view the files you have on available on your Redman website. This page will also allow you to add a file from your computer to the website.

Adding an Image from Your Computer
To add an image from your computer, select the grey “Add File” button, the second button located along the top of the window This will bring up a new window.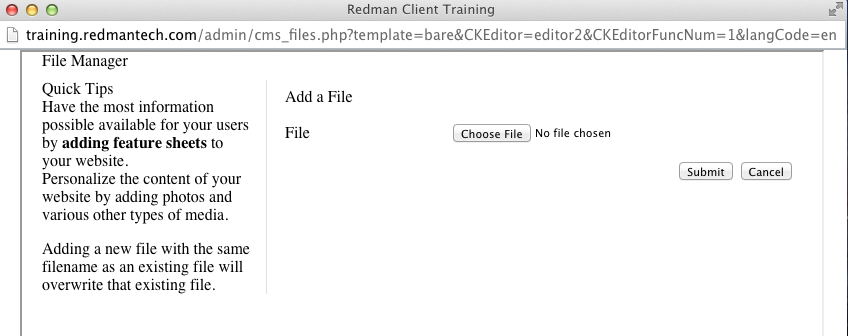
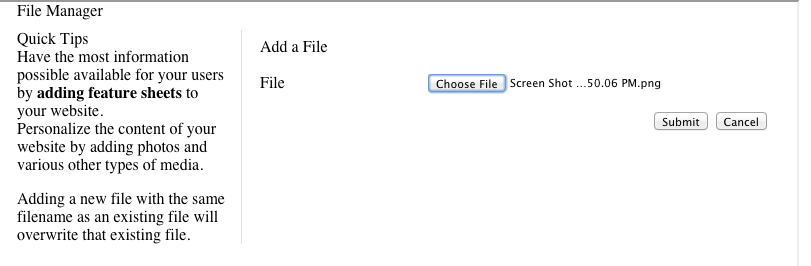
Select the grey “Choose File” button located in the middle of the window. This will allow you to browse your computer for the image you would like to add. Once you have found the desired image, select the image and press “Open” this will bring you back to the “File Management” Window. To finish adding the image to your website file management system, simply press submit. Once submitted, you will be taken back to the “Image Properties” window.
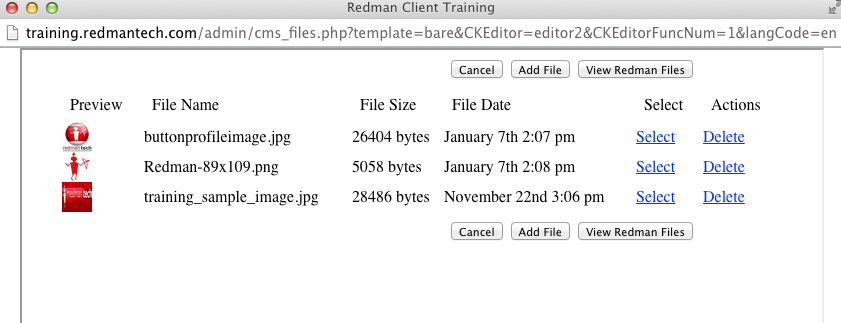
Adding an Image from Your Site
If the image already exists or if you have just completed adding the image in your website’s file management system, all you need to do is select the blue highlighted word “Select” beside the image you would like to add.
This will bring you back to the “Image Properties” window.
Once you are finished, select the green “OK” button This will bring you back to the “Editing” window.
Select the green “Save” button at the bottom of the window once you are satisfied with the image placement. Remember, you can treat this screen the same way you do a Word document, so move the image with the alignment options or with your cursor. Good job! You have just added an image to your website.