Managing Notification Emails From Your Website
As a Redman user, you have the ability to update the email address receives your lead notifications. You also have the option to decide if you want the notifications to go to a single email address or many email addresses. Follow the steps below to learn how.
In This Article
- Logging Into Your Redman Workstation
- Adding an Address to Receive All Email Alerts
- Managing Email Alerts
- Adding Email Addresses to Receive Specified Alerts
- Managing All Redman REDForm Notifications
- Managing Specific REDForm Notifications
Logging Into Your Redman Workstation
In a previous article, we discussed “How To Login To Your Redman Workstation”. To gain insight on how to “login to your Redman website”, simply follow the steps here.
Adding an Address to Receive All Email Alerts
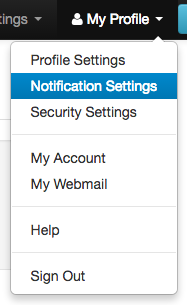
After you have logged into your Redman Workstation, select “My Profile” from the left side of the black navigation bar along the top of the page. This will give you a drop down menu where you can select “Notification Settings”
This will bring you to the “General Notification” page. Here, you can manage the email notifications listed at the bottom of the page. From your “Activity Notifications” section of the page, you can manage which notifications you receive and how you receive them.
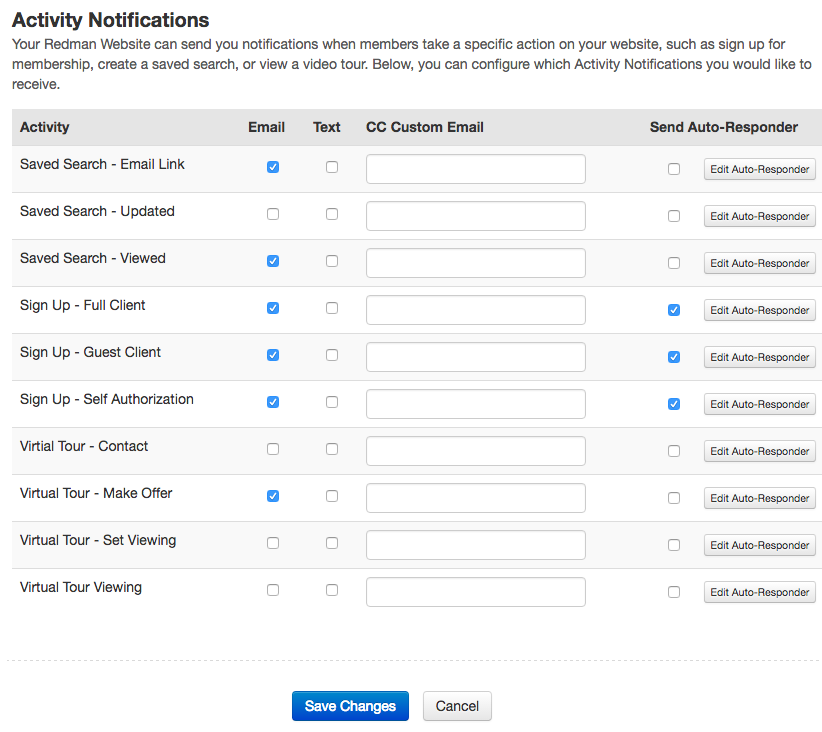
To the left of each option there are two boxes toy can select. One under the heading “Email” the other, under “Text”.
Selecting the grey box under “Text” will allow you to receive notification from that option via text message. Once selected, the grey box will turn into a blue box with a checkmark. To uncheck a box, simply select the checkmark and the box will turn grey again. To learn how to set-up your text message notification address please see our article “How Can I Receive my Redman Website Leads Via Text Message?“ for more information.
Selecting the grey box beside under “Email” will allow you to receive notifications from that option via the email to an additional email separate from the email in your “Default Notification Group”. Once selected, the grey box will turn into a blue box with a checkmark. To uncheck a box, simply select the checkmark and the box will turn grey again.
You can set more than one email to receive notifications from each listed client action by typing in the email address you would like to be notified of the activity in the textbox to the right of the “Website Activity” under the “CC Custom Email” heading.

If you would like multiple addresses to receive the notification for that activity, simply add a comma, space and then the additional email address(es).
When you are finished deciding which notifications you would like to receive and how you would like to receive them, select the grey “Submit” button.
![]()
Managing Redman REDForm Notifications
In a previous article, we discussed How to Create a Custom Form
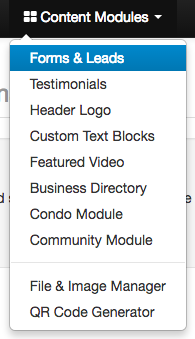
To add or edit email addresses that receive REDForm notifications, select “Content Modules” from the black navigation bar along the top of your Workstation. From the drop down menu, select “Forms & Leads”
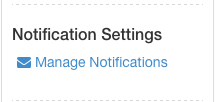
This will bring you to the Redman Form Builder Page. On the right, there is a sidebar with a title “Notification Settings” select the “Manage Notifications” link with a blue mail icon located just under the title.
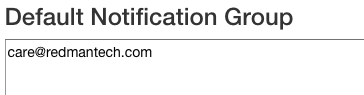
Here, you can manage the email addresses that will receive all of the form notifications, the “Default Notification Group”.
Add a new email address by adding a comma and then a space after the email address
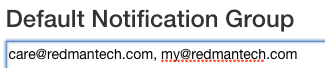
When you are finished adding additional emails, select the big blue “Save” button at the bottom of the white text box.
![]()
Managing Specific Form Notifications
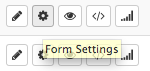
From the main FormBuilder page, you can select the gear from the collection of icons to the left of each form title to pull up the “Form Settings”
From the “Form Settings” page, scroll down to “Notification Settings”

Select the grey box to the left of “To an email address” to add email addresses to the notification list
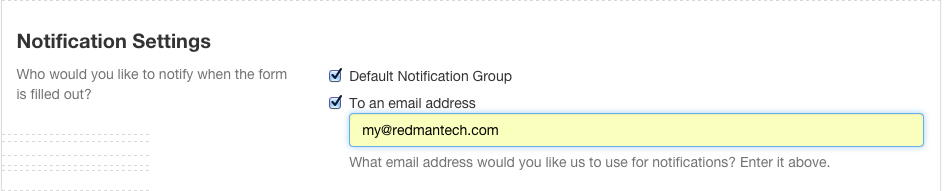
To have the emails only sent to the email address entered in the text box, select the blue box with the black checkmark to deselect the Default Notification Group.
When you are finished, scroll down to the bottom of the page and select the green “Save” button at the bottom left of the page.
You can do this for each form you wish to alter the notification settings for.